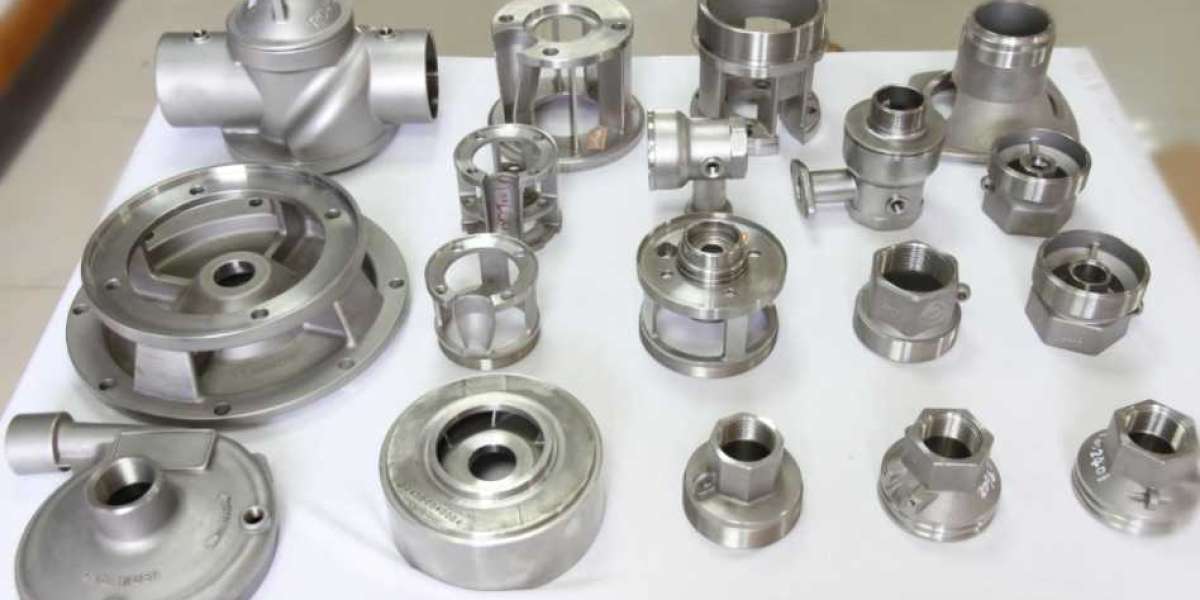
What is lost wax casting?
Lost wax casting, also known as cire perdure, is an ancient process in which metal alloys are moulded from wax into designs. For many years, the lost wax casting process has been used not only for jewelry but also for sculptures and ornaments. Also, one of the main advantages of lost wax casting is that you can replicate the same model as many times as you want. The metals most commonly used in this process are silver, gold, brass and bronze - so there are plenty of opportunities for your jewelry making projects!
What is the lost wax casting process for jewelry? Step by step
Interested in trying it yourself? Follow our lost wax casting process steps below to find out how (using a silver ring as an example):
Using a wax tube, cut out the shape of a standard ring. Then, use a scribe to outline the pattern on the ring to guide where the first cut will go.
Next, file the wax into the shape you need using a special engraving file. Important: Remember that you can file the wax very thin because silver weighs 11 times as much as wax.
Once the wax meets your requirements, it's time to attach the wax runner to the ring. To do this, put the sprue on a low fire until it starts to drip, then quickly place it on the ring in the heaviest area.
Weigh the ring and note its weight. In order to calculate the amount of silver you need, please refer to the following equation: For silver - multiply the weight of the calculated wax by 11 and add 10g to fit the weight of the runner.
After figuring out how much silver you need, fasten the ring and runner to the bottom of the flask - with at least a 5mm gap between the edge and the top of the flask and ring.
Now that you have completed the first few steps of the lost wax casting technique, you are ready to move on to the next step in the process - investing. Follow the instructions below to learn what to do next:
Make sure the flask is attached to its rubber base and that the ring and gate are securely attached. Then, fill the flask with water until it is about 5 mm from the top. When done, pour the water into a rubber bowl.
Next, weigh the amount of investment powder you think you need and sprinkle a tablespoon over the water. Remember that it will sink to the bottom at first and rise to the top once the correct amount of powder is added.
Once the powder floats to the top of the bowl, mix for about 10 minutes to make sure air bubbles are removed - any more and the mixture will become too thick to work with.
After mixing the mixture well, place the rubber bowl on a vibrating plate. Hold the bowl firmly and let as many air bubbles as possible rise to the surface. Then, squeeze the sides of the bowl as you pour the mixture into the flask.
For about a minute or so, place the flask on the shaker and allow any trapped air to rise to the surface as it is poured to the surface.
Let the flask dry overnight - then peel off the filled rubber base to find the wax sprue.
Put the gate on the bottom, place the flask in the kiln, and let the molten wax flow out. Set the kiln between 150 and 200°C for one hour. After an hour has passed, turn the heat up to 400°C for 1 hour 30 minutes. Finally, increase the temperature to 720°C and hold for an additional hour - different temperatures ensure that the embedding is completely dry and hardened and the wax is completely melted.
Now is the final stage of the process, centrifugal casting. Perform the following steps to complete the lost wax casting process:
Put the desired amount of silver into the crucible, remove any existing solder and cut any scrap so they all fit. Grab a pinch of powdered flux and sprinkle it on top. To compensate for the runner, add an additional 10 grams of silver.
After wearing protective gloves, use a pair of large steel tongs to remove the flask from the kiln. Then place it in the centrifuge, making sure the crucible is closed and fully seated at the gated end of the flask.
Now that everything is balanced and fastened tightly, let the metal melt and prepare the machine at the same time.
Check for any small pieces in the metal. If not, you are ready to activate the machine. Just make sure there are no obstacles in the path of the centrifugal arm so that it does not stall.
Once the machine stops spinning and the bottom of the flask turns from red to black, use tweezers to remove it and submerge it into a metal bucket filled with cold water. Move the flask left and right until the investment spreads and the metal casting is exposed.
Finally, pickle and scrub the casting to remove any residual investment, then use a jewelry saw to remove all sprues. Finally, the ring is filed and polished - you can then choose to keep it as a one-of-a-kind piece, or send it in to buy a rubber mold for reproduction.
That's it! You will no longer ask "what is the lost wax casting process". Ready to try it yourself? Make sure you have all the wax processing equipment and castings you need before starting.


